

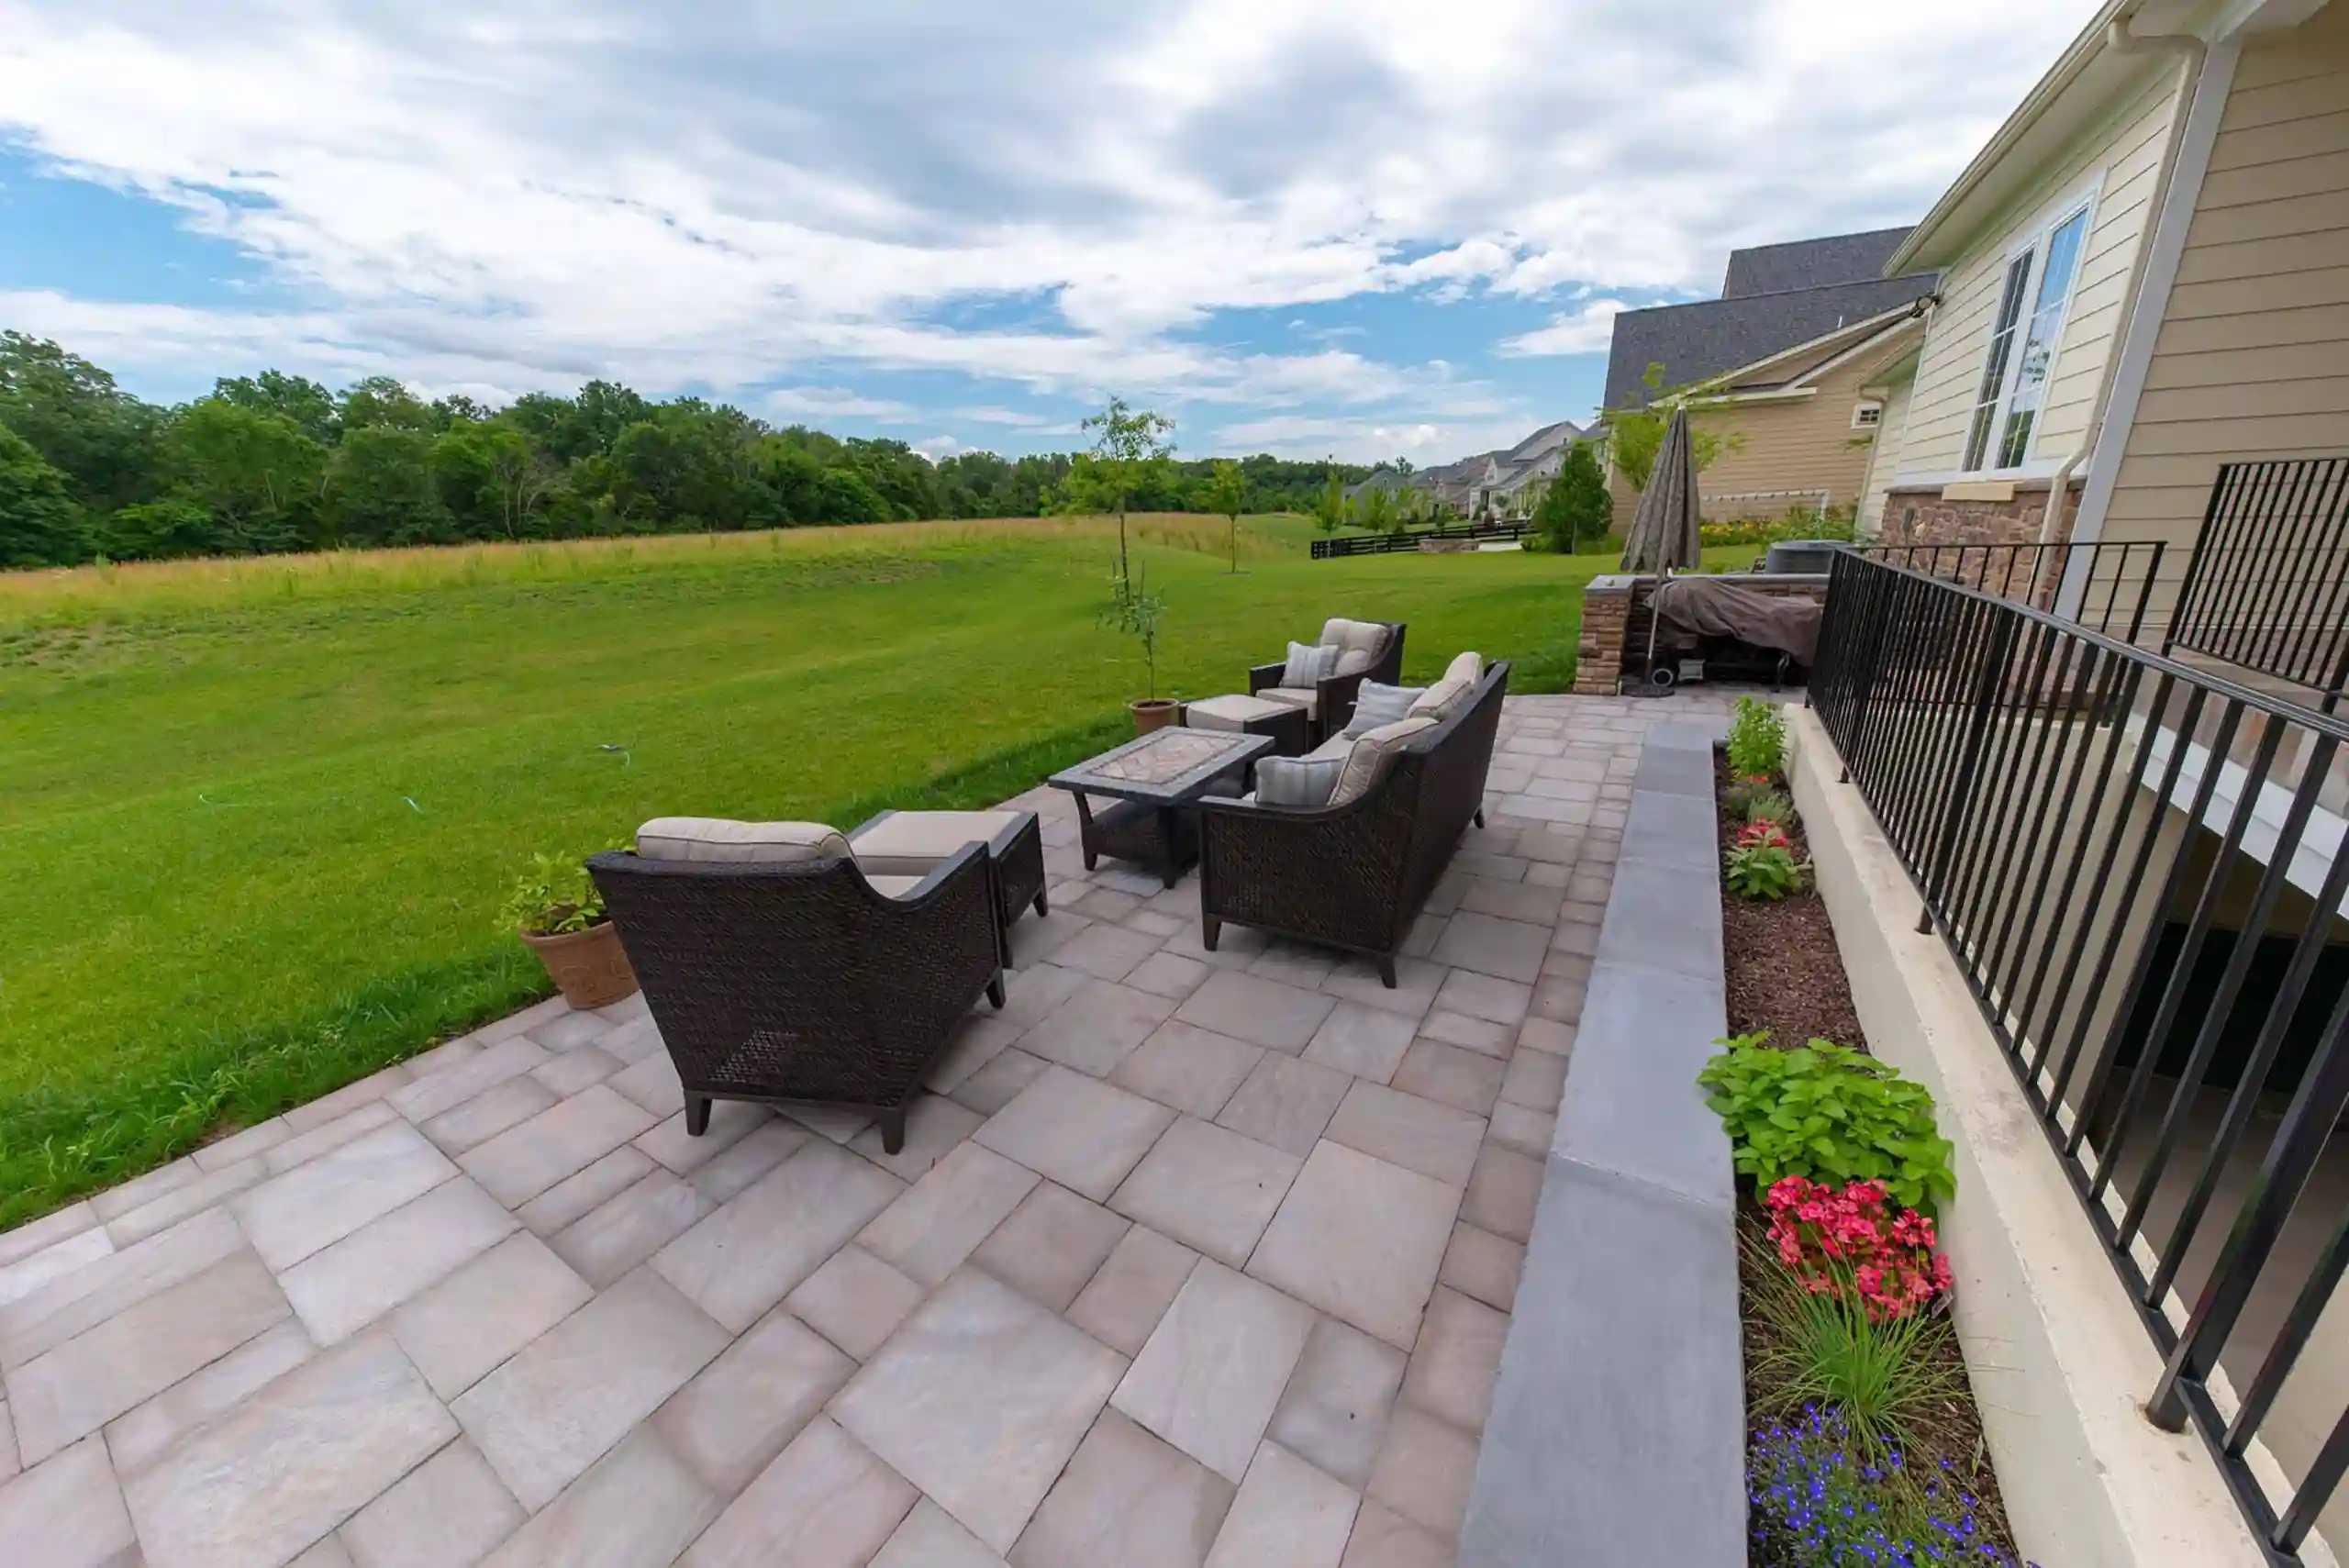
Transforming your outdoor space into a stylish and functional paver patio can significantly enhance the value and aesthetics of your home. However, a successful paver patio installation demands meticulous planning, an understanding of the process, and attention to detail. Whether you choose stamped concrete pavers, brick pavers, or natural stone pavers, each option requires specific methods to install pavers correctly and create a stunning outdoor living space.
Common Challenges Faced During DIY Paver Patio Installation
Installing paver patios can be a rewarding home improvement project for DIY enthusiasts. Still, it comes with numerous potential pitfalls. Challenges include estimating costs, understanding how many pavers you need per square foot, ensuring a slope for water drainage, and using tools like a rented plate compactor or rubber mallet. Professional installation can circumvent these challenges and reduce installation costs. Thus, hiring a local contractor for paver patio installations is still the best choice.
Basics of Paver Patio Installation
A well-executed patio installation starts with a clear site and a well-prepared gravel base. Following this, a layer of paver sand is added, and the pavers are meticulously laid, ensuring each paver is secure and level. Essential steps like installing paver edging, using a plate compactor, and filling joints with polymeric sand to create a solid and even paver surface are indispensable for a successful installation.
The Need for Correct Installation: Impact on Patio Lifespan and Appearance
Correctly installing your patio pavers is about more than aesthetics; it significantly impacts the longevity of your patio area. A poorly installed paver patio may lead to issues like pooling water, unstable pavers, and premature wear and tear. Paying attention to details like maintaining a proper slope, using paver base panels, and ensuring correct sand bed depth can prolong the life of your paver patio and keep it looking great for years to come.
Key Materials Involved in Paver Patio Installation
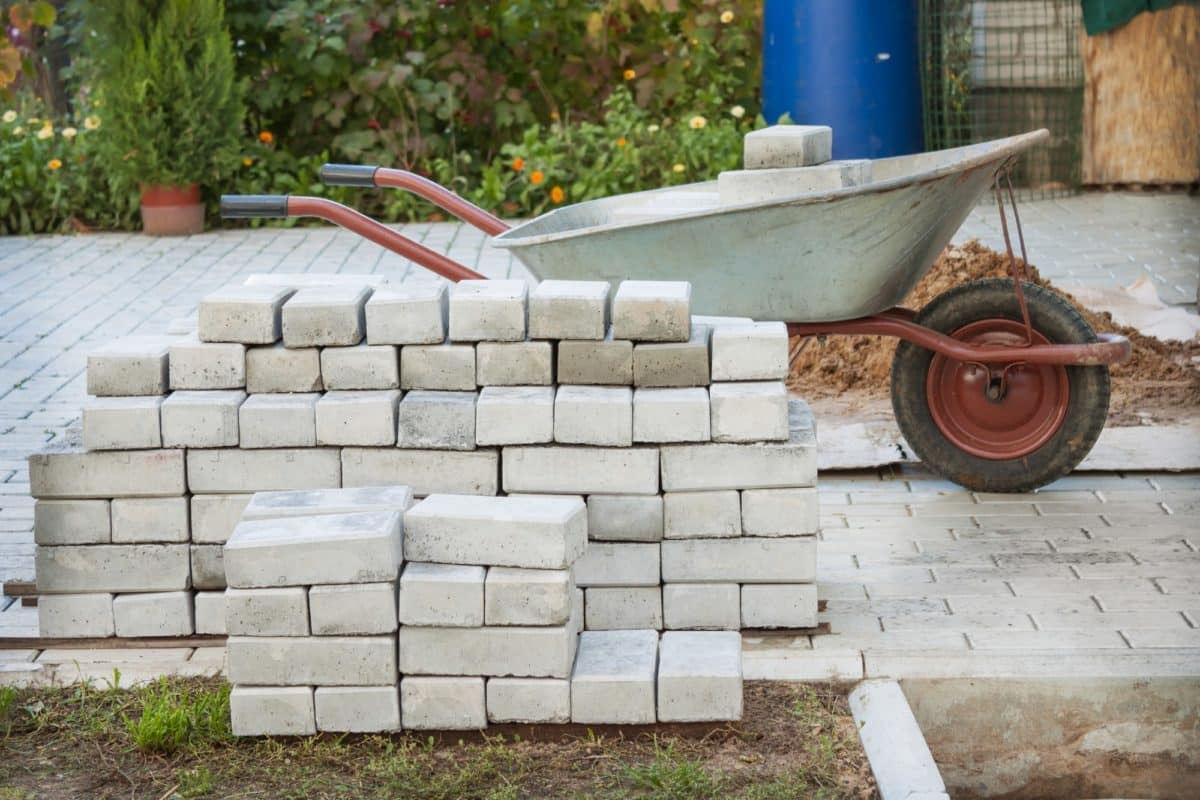
The materials you select affect your paver patio’s appearance and durability. Brick pavers offer classic looks, while natural stone pavers offer a high-end look with increased installation costs. Materials like landscape fabric, paver restraints, and polymeric sand are also necessary.
Identifying Common Mistakes
A common misconception about paver patio installation is that it’s as straightforward as laying pavers on a flat surface and filling the gaps with paver sand. This oversimplified perception can lead to many installation errors, affecting the aesthetics and durability of the paver patio.
Top 10 Commonly Made Paver Patio Installation Mistakes
Installing pavers can be a challenging DIY project, even for the most experienced home improvement enthusiasts. Many things can go awry, from incorrect base preparation and inadequate slope for water drainage to improper use of paver restraints and hasty application of polymeric sand.
Mistake 1: Incorrect Base Preparation
A well-prepared base is essential for paver patio stability. The base provides a firm foundation for the pavers, preventing them from shifting underweight or during harsh weather conditions. An unstable base can result in an uneven paver surface and premature wear and tear of the patio pavers.
Preparing the patio base starts with clearing the area of any existing patio or lawn using a sod cutter. This is followed by the installation of landscape fabric to prevent weed growth. A gravel base layer is then added and compacted using a plate compactor. The base preparation is completed with a layer of paver sand, ensuring a level surface for the pavers.
Mistake 2: Insufficient Slope for Water Drainage
Proper water drainage is a critical aspect of paver patio installation. An insufficient slope can lead to water pooling on the paver surface or along the paver edging, causing damage over time and creating a safety hazard in your outdoor living space.
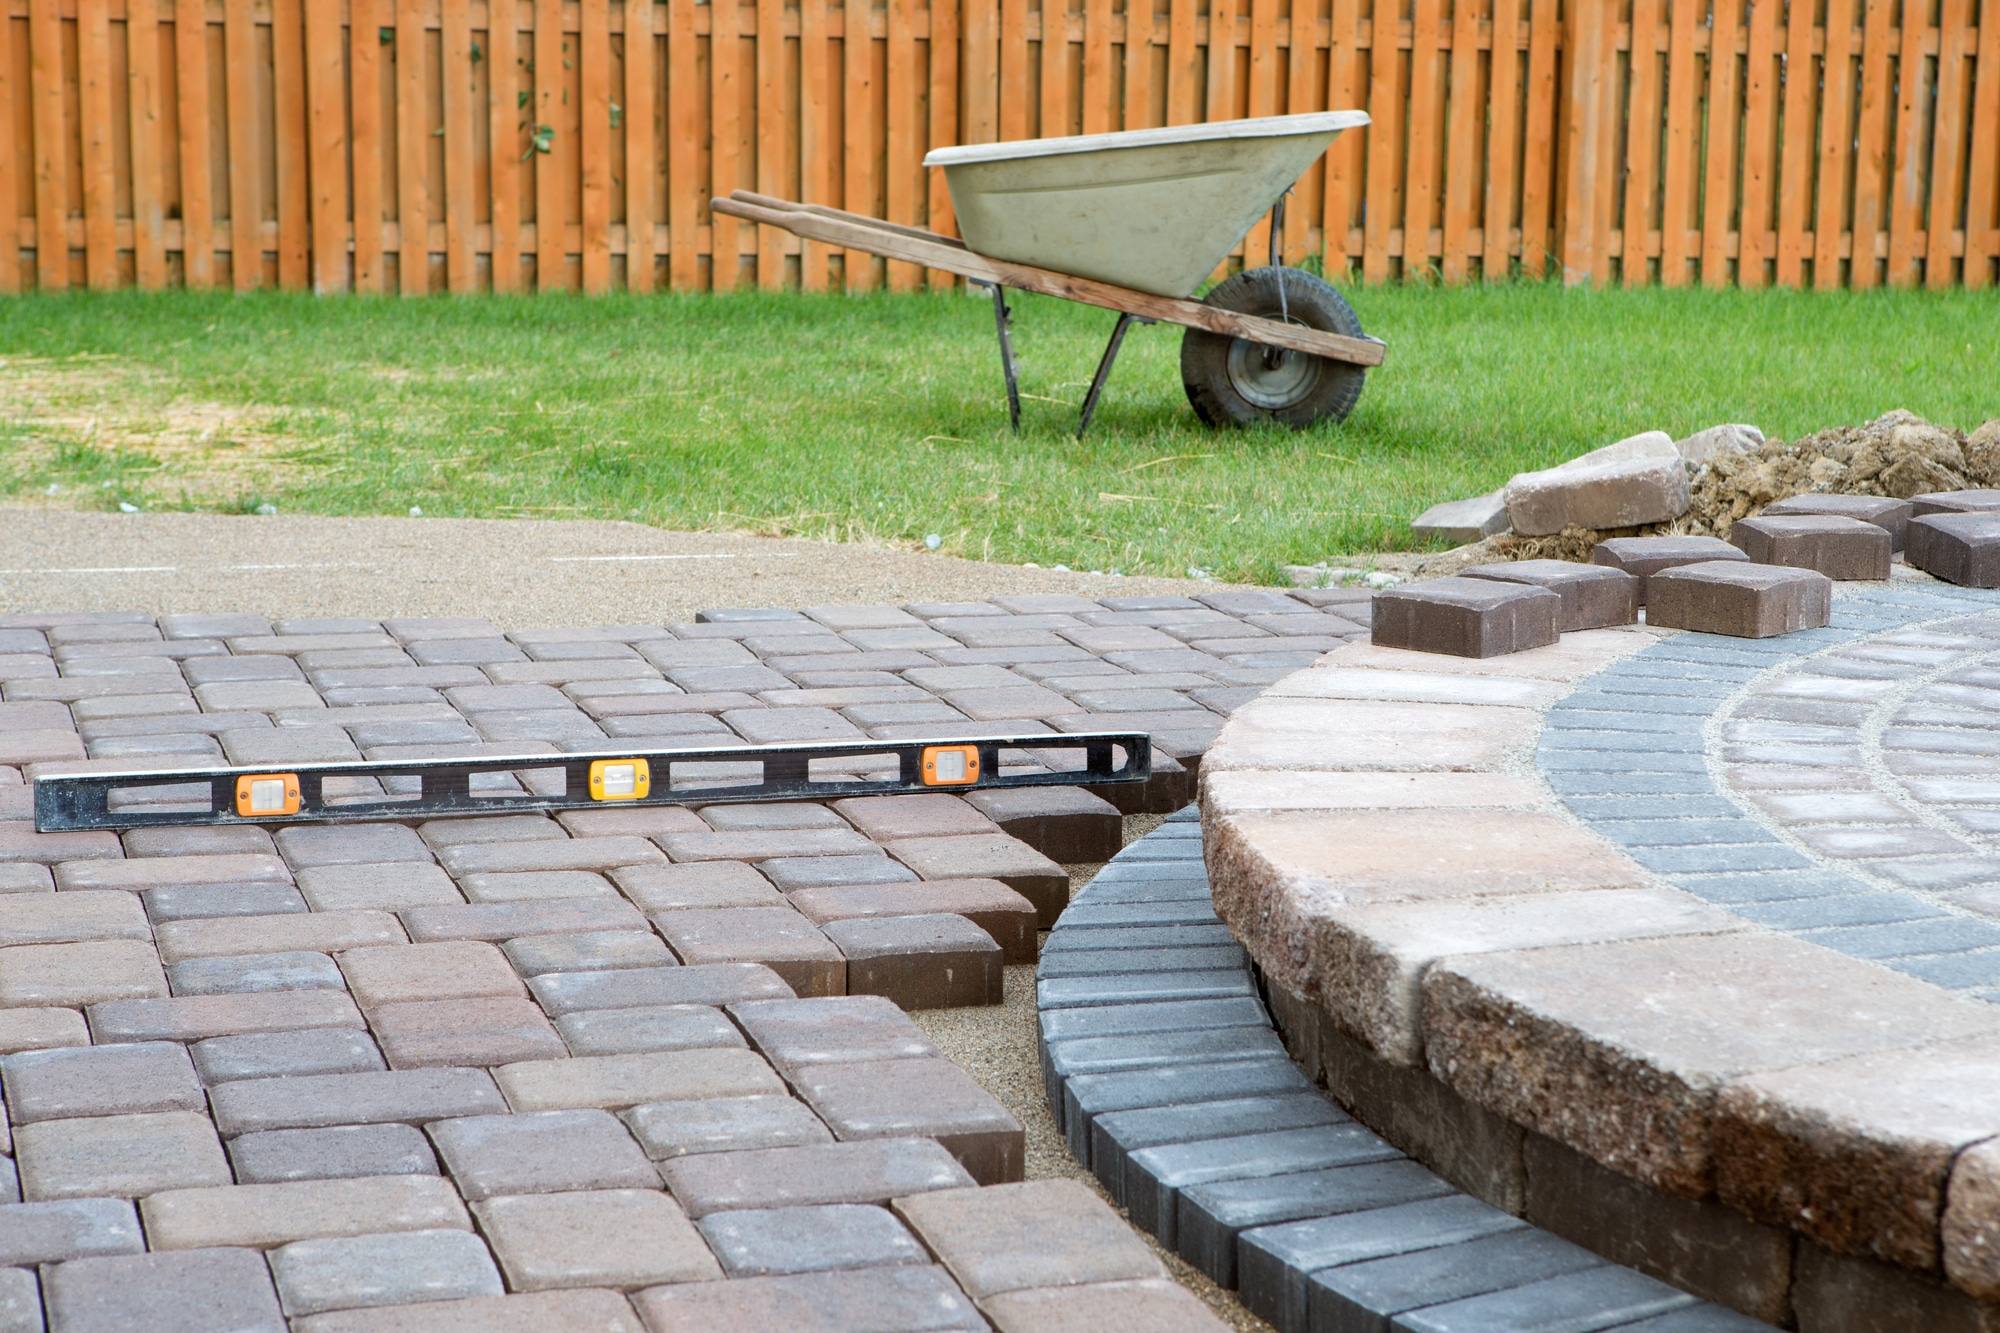
Your paver patio should have a slight slope away from your home or adjacent structures to ensure adequate drainage. This slope is usually created during the base preparation stage. Using a level, maintain the slope throughout the paver installation process to prevent water accumulation.
Mistake 3: Not Using the Right Tools
The tools used for patio installation, such as a sod cutter, rubber mallet, PVC pipe, and plate compactor, directly affect the outcome. Additional safety glasses and hearing protection are also necessary when cutting pavers with a circular saw.
Using inappropriate or low-quality tools can extend project duration, increase labor costs, and may even lead to personal injury. For instance, using a regular mallet instead of a rubber mallet can damage the pavers during installation, adding an unwanted additional cost.
Mistake 4: Choosing the Wrong Pavers
Many patio pavers are available, including interlocking pavers, clay bricks, and natural stone pavers. The choice largely depends on your budget, as the pavers’ cost and the aesthetic you desire for your outdoor space can vary greatly.
Choosing the wrong pavers can detract from your outdoor living space’s visual appeal and reduce your patio’s longevity. For instance, there may be better choices than clay bricks for a fire pit area due to their susceptibility to heat damage.
Mistake 5: Ignoring Weather Conditions During Installation
Weather plays a crucial role in patio paver installation. Wet conditions can cause the sand to settle unevenly, while sweltering conditions can challenge the paver surface.
Ideally, pavers installation should be undertaken in dry, mild weather. This helps ensure the paver and polymeric sand can set properly, avoiding permanent white haze or distortions on your newly laid pavers.
Mistake 6: Neglecting Proper Edge Restraints
Edge restraints are critical in maintaining your paver patio’s shape and structural integrity. They prevent lateral movement of the pavers, ensuring your patio maintains its design and stability over time.
Different edge restraints may be required depending on your patio design and the type of pavers used. Paver restraint spikes or plastic edging can be used. When installed correctly, they create a firm boundary that holds the pavers in place, contributing to a long-lasting and visually appealing outdoor space.
Mistake 7: Poor Paver Cutting Techniques
Cutting pavers accurately requires a circular saw with a diamond-tipped blade. You can ensure clean and safe cuts by marking the cut line with a chalk line and using hearing protection and safety glasses.
Improper cutting techniques can lead to uneven edges, increasing the risk of tripping hazards and a visually unappealing patio. It can also result in unnecessary waste of pavers, adding to the overall project cost.
Mistake 8: Incorrect Joint Sand Application
Joint sand is essential for paver patio stability. It fills the gaps between the pavers, keeping them tightly bound and preventing weeds or pests from settling in. It’s crucial to use polymeric sand for increased durability.
Applying joint sand correctly requires sweeping it into the paver joints, then compacting it using a plate compactor. Following compaction, additional sand is applied to fill any remaining gaps. The sand should be completely dry before applying a sealant to avoid hazing.
Mistake 9: Hasty Sealer Application
Applying sealer before the patio is completely dry or while the polymeric sand has not yet been fully set can lead to a white haze forming on your pavers. It’s essential to let the pavers and sand dry completely before sealing.
The best time to apply a sealer is 24-48 hours after the pavers have been laid and the joint sand is dry. Applying a sprayer or roller in a thin, even layer can ensure a consistent, attractive finish.
Mistake 10: Overlooking Regular Maintenance
Regular maintenance is vital to preserving the beauty and longevity of your paver patio. This can include cleaning the patio with a leaf blower, checking for any loose pavers or edge restraints, and resealing every two years.
Regular inspections for loose or damaged pavers and prompt replacement can keep your patio looking its best. Cleaning with a mild detergent and water can remove stains, and resealing every couple of years can enhance color vibrancy and increase durability.

Make a Lasting Investment with Prince William Home Improvement
A properly installed paver patio is more than just visually appealing. It’s also a lasting investment in your property. For years, you can enjoy a durable and beautiful outdoor space with suitable materials, tools, techniques, and regular maintenance.
At Prince William Home Improvement, we understand that paver patio installation can be a significant undertaking. We’re always here to help, offering expert advice and professional services to ensure your patio installation succeeds. Contact us today for a free estimate.
Lorem ipsum dolor sit amet, consectetur adipiscing elit. Ut elit tellus, luctus nec ullamcorper mattis, pulvinar dapibus leo.